Saturday, 20 September 2014
[BASIC] How to clean and wipe chinaware, silverware and glassware
[BASIC] How to arrange silverware on a table
Welcome boys and girls....
Today we are going to arrange a table setting....
❶ Place joint knife on the left and joint fork on the right of the picture.
❷ Then place the joint spoon next to the joint knife.
❸ Continue with soup spoon on the left, then the fish fork on the right of the picture.
❹ Then place salad knife next to the soup spoon.
❺ Follow by salad fork next to the fish fork.
❻ Place a goblet glass above the joint knife as shown.
❼ Place a BB plate next to the salad fork.
❽ Put a BB knife on the BB plate as shown.
❾ Put a pair of dessert equipment (dessert fork & dessert spoon) next to the goblet and below an empty space (for dinner plate) as shown.
❿ And finally place a decoration (center piece) that appropriate with the table.
OK.... And that's how you setup a table シ
[BASIC] How to hold a plate
Good evening folks...
Today we are learning about how to hold a plate, sooo here the steps シ
❶ Place the plate into your left hand, make sure your index, middle and ring finger is the base for the plate as the picture shown.
❷ After placing the plate, insert between your thumb and pinky finger to hold firmly.
❸ Place the second plate on your wrist, make sure it is balance.
❹ Finally, you can use other hand to hold an other plate
Wednesday, 3 September 2014
How lay and change table cloth
How to lay a table cloth
Stand in front of the table with the table cloth at the middle of the table
Open both side ways start from the left then right
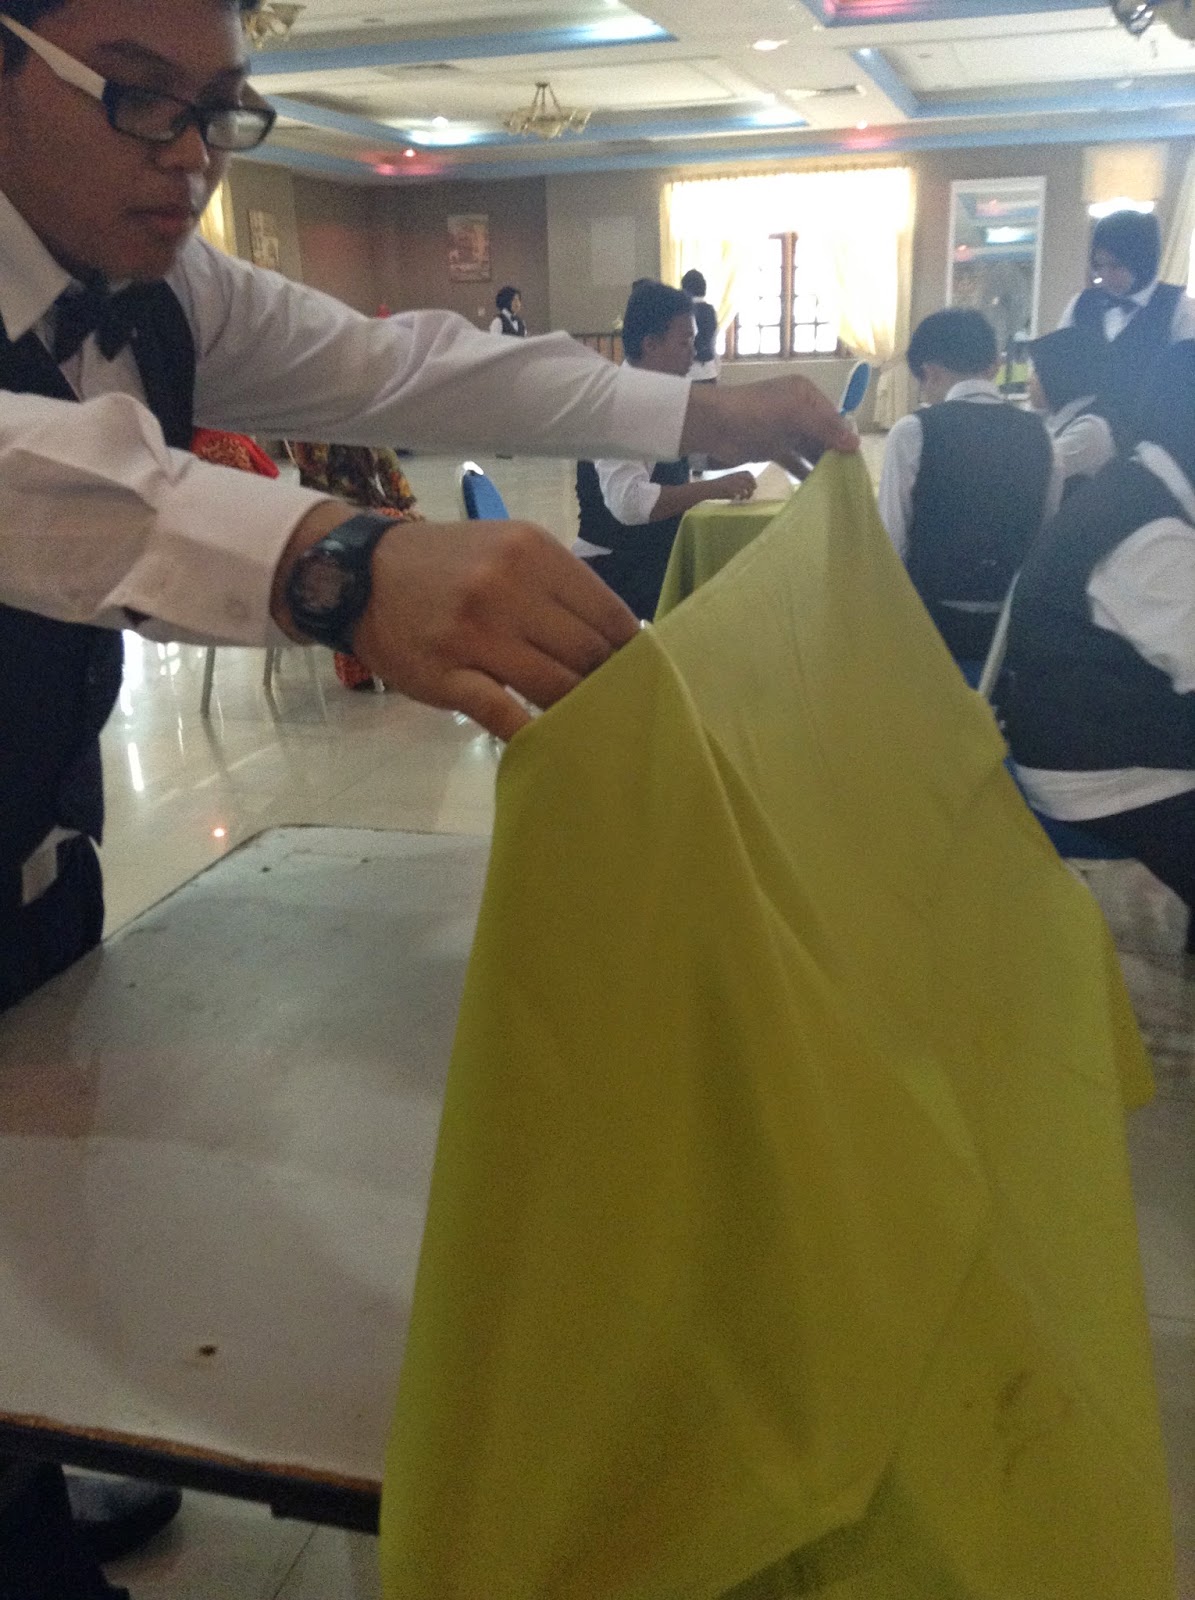
Using both hand, begin using thumb and index finger to hold the first layer, then the second layer use the middle finger with index finger from earlier and finally use your pinky and ring finger to hold the last layer of the table cloth
Start from the other end, pull slowly to in front of you
Done....
How to change table cloth
Start with a dirty table, pull the table cloth slightly off the edge from other side of the table
fold 1/3 of the table cloth
place the clean table cloth at the middle of the table/ table cloth and then open both sides
Pull slowly the clean table cloth at the middle until meet at intersection with the dirty table cloth
Using both hands, with the thumb and index finger pin together the first layer of the clean table cloth. Then using pinky and ring finger pin together the layer that intersect the dirty and the clean table cloth
Pull slowly and before reaching the edge of the table, let go a bit of the grip for the clean table cloth and pull untill the edge of the table
Done... And place the dirty table cloth into the laundry cart
How to fold a table cloth 'Folding Screen Technique'
Finally fold into two. Done...
Tuesday, 2 September 2014
How to fold a napkin (5 version of fold)
Candle Folding Technique
Lay the napkin fave down in front of you
stand it up
Bird of Paradise Folding Technique
Lay the napkin face down in front of you.
Fold the napkin in half
Fold the napkin in quarters
Fold the napkin in half diagonally, creating a triangle.
Fold the right corner diagonally towards you - laying it down along the centerline of the triangle, making a new tip pointing towards you
Do the same with the left corner, fold it diagonally toward you and press it down next to the previous fold.
Fold the two "wings" that you just made in folds 6 and 7 under so that you have your original triangle shape back
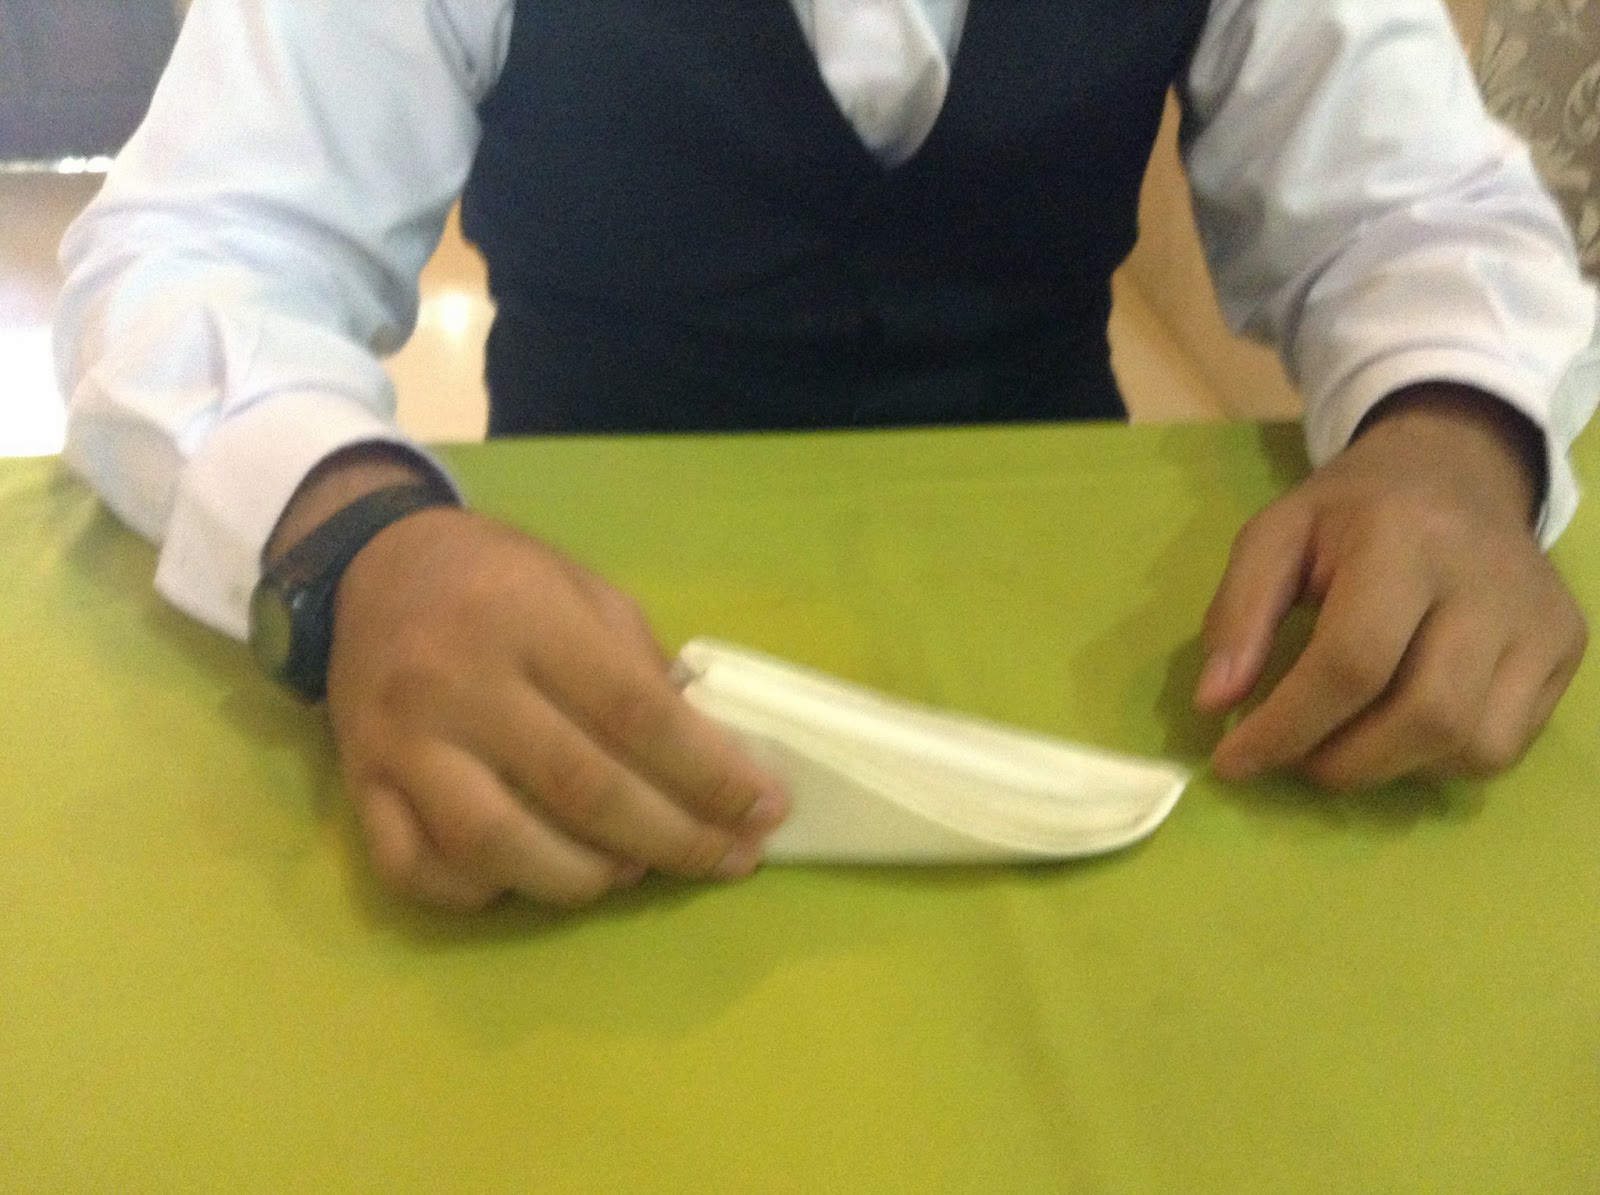
Fold the triangle in half by bringing the center seam towards you and allowing the ends to fall
While holding the base firmly to keep your folds together, pull up the four 'flaps' created by the napkin's corners
DONE ..
Pinwheel Folding Technique
Iron the napkin flat
Fold all the tips of the napkins into the center
Fold two opposite edges towards the center, creating a rectangle
Fold the two short edges of the rectangle towards the center
Now take one flap and pull out one of the edges to make a point
Repeat with the second flap
With the right flap, pull it down towards you
Turn the napkin around and repeat steps 5-7 to finish up the pinwheel napkin fold
Bishop Hat Folding Technique
Lay the napkin face down in front of you
Fold the dinner napkin in half so that the open end is towards you
Fold the far-right corner diagonally towards you, resting the point in the center of the side closest to you
Fold the near-left corner diagonally away from you, resting it so that it lays right next to the previous fold
Flip the napkin over and orient it so it points to the far-left and to the near-right
Fold the bottom half of the napkin up and away from you, laying it so the far edges run on top of one other
Reach underneath of the napkin and pull out the flap on the right, making the near-side come to two points as seen in the picture
Gently roll the left half of the left triangle over and tuck it's end underneath the right triangle
Flip the napkin over, points pointing away from you
Fold the right-triangle to the left, tucking it's end into the other triangle
Open up the hat and press the material inside down to fill it out so that it becomes circular, this may take a little fidgeting
Envelope Folding Technique
Iron the napkin flat
Fold the napkin in half so that the open end is facing away from you
On the left hand side of the napkin, fold both corner edges towards the center to form two triangles
Fold the right side of the napkin over in half to meet the right
Take both triangle layers and fold both over to create the napkin envelop fold
Subscribe to:
Comments (Atom)


